
 |
| Always welcome in the kitchen! |
by Maren Cooke for ReImagine Food Systems
[back to main MarensList]
Why grow garlic?
It's a very easy crop that gives your garden something to do in winter.
Few pests and diseases bother garlic.
Humans have used garlic for thousands of years for its flavor, nutrition, and health benefits.
Where to plant?
Good drainage (so it works great in raised beds, or even big pots).
Full sun if possible.
When to plant?
Along about October is ideal, to get some root growth in before winter.
Later is possible (into winter, as long as the soil can be worked), but your crop may not be as large.
Planting much earlier risks shoots coming up before winter, dying back, and taking moisture out of the bulb.
What kind of garlic?

Most store-bought garlic is softneck (shown on the left), which produces slightly larger bulbs on average and keeps longer after harvest — but for a small crop, long storage won’t matter. Cloves are more numerous, but smaller, just kind of piled around each other.

Separate the bulb, removing the outer skin — but don’t peel the cloves.
Select the largest cloves to replant, and enjoy the smaller ones in your next savory recipe.
Make a trench three or four inches deep.
Mix some fertilizer or compost into the trench, if you have it.
Plant individual cloves two or three inches deep (2-3” of soil above the top of the cloves)
Space cloves 5-6” apart.
Make sure that the pointy end is up and the hard, stubby (root) end down.
Cover with soil to match the soil level around the area.
Add mulch to shade out weeds, moderate temperature changes, and protect soil from rain.
 |
| Some of these cloves have already started sprouting; as long as the roots haven't had a chance to dry out they're fine to go in the ground. |
What next?
Enjoy the winter! Garlic actually needs cold weather to trigger bulb formation.
In early spring, you’ll see green shoots come up through the mulch.

Garlic scapes
The central stalk of hardneck garlic would naturally mature into a flower, and produce lots of tiny “bulbils” that can each grow into a new plant. But most people plant cloves instead, which gives a big head-start since cloves are so much bigger. So we cut the scapes, usually in June, and use them as a delicious early harvest. Trim off the brownish tip of the scape, and also cut off any of the lower stalk that is tough and fibrous (you can still chop those up for soup stock, or compost — and if you don’t compost, you can just toss ‘em back into the garden as mulch).
 |
| Some of the scapes from a large garlic crop. These are a little far along (most would harvest sooner), but still good! |
Bulb harvest
In July, you’ll see the leaves start to yellow.

 |
| Loose cloves from garlic harvested a little too late. Eat these soon, since they lack the papery protective layer. |
Aim for a harvest-day when it hasn’t rained recently (and don’t water the garlic for a week or so).
It’ll all be easier, and the bulbs will be in better shape, if the soil around the bulbs is dry.
 |
| Loosen soil and pry to lift each bulb. |
For each plant, use a trowel or spading fork to loosen the soil deeply around the bulb (especially if you have softneck garlic). Try to avoid poking the bulb — if it happens, just set aside those bulbs to eat first.
Then pull gently up on the stalk while levering the trowel to help lift the bulb (the tip of the trowel should be below the bottom of the bulb). If the stem breaks (not likely with hardneck) or cloves fall off, you’ll just have to dig for them. Buried treasure!
 |
| Ta-dah! Up comes a fat bulb, roots and all! |

Curing garlic
Garlic needs to cure if it’s going to be stored for any length of time.
Drying the bulbs in a shady, dry, airy place for a couple of weeks will allow the protective papery skin to harden and the flavor to intensify.
Air circulation is key — if the bulbs are crowded, they might start to mold instead.
One simple method for hardneck garlic is to tie the stalks together (4-6 in each bundle) and hang them up so that each bulb has space around it. You’ll need to tie them very tightly, as the stems will shrink as they dry. Or you can set them out on some kind of rack or screen. 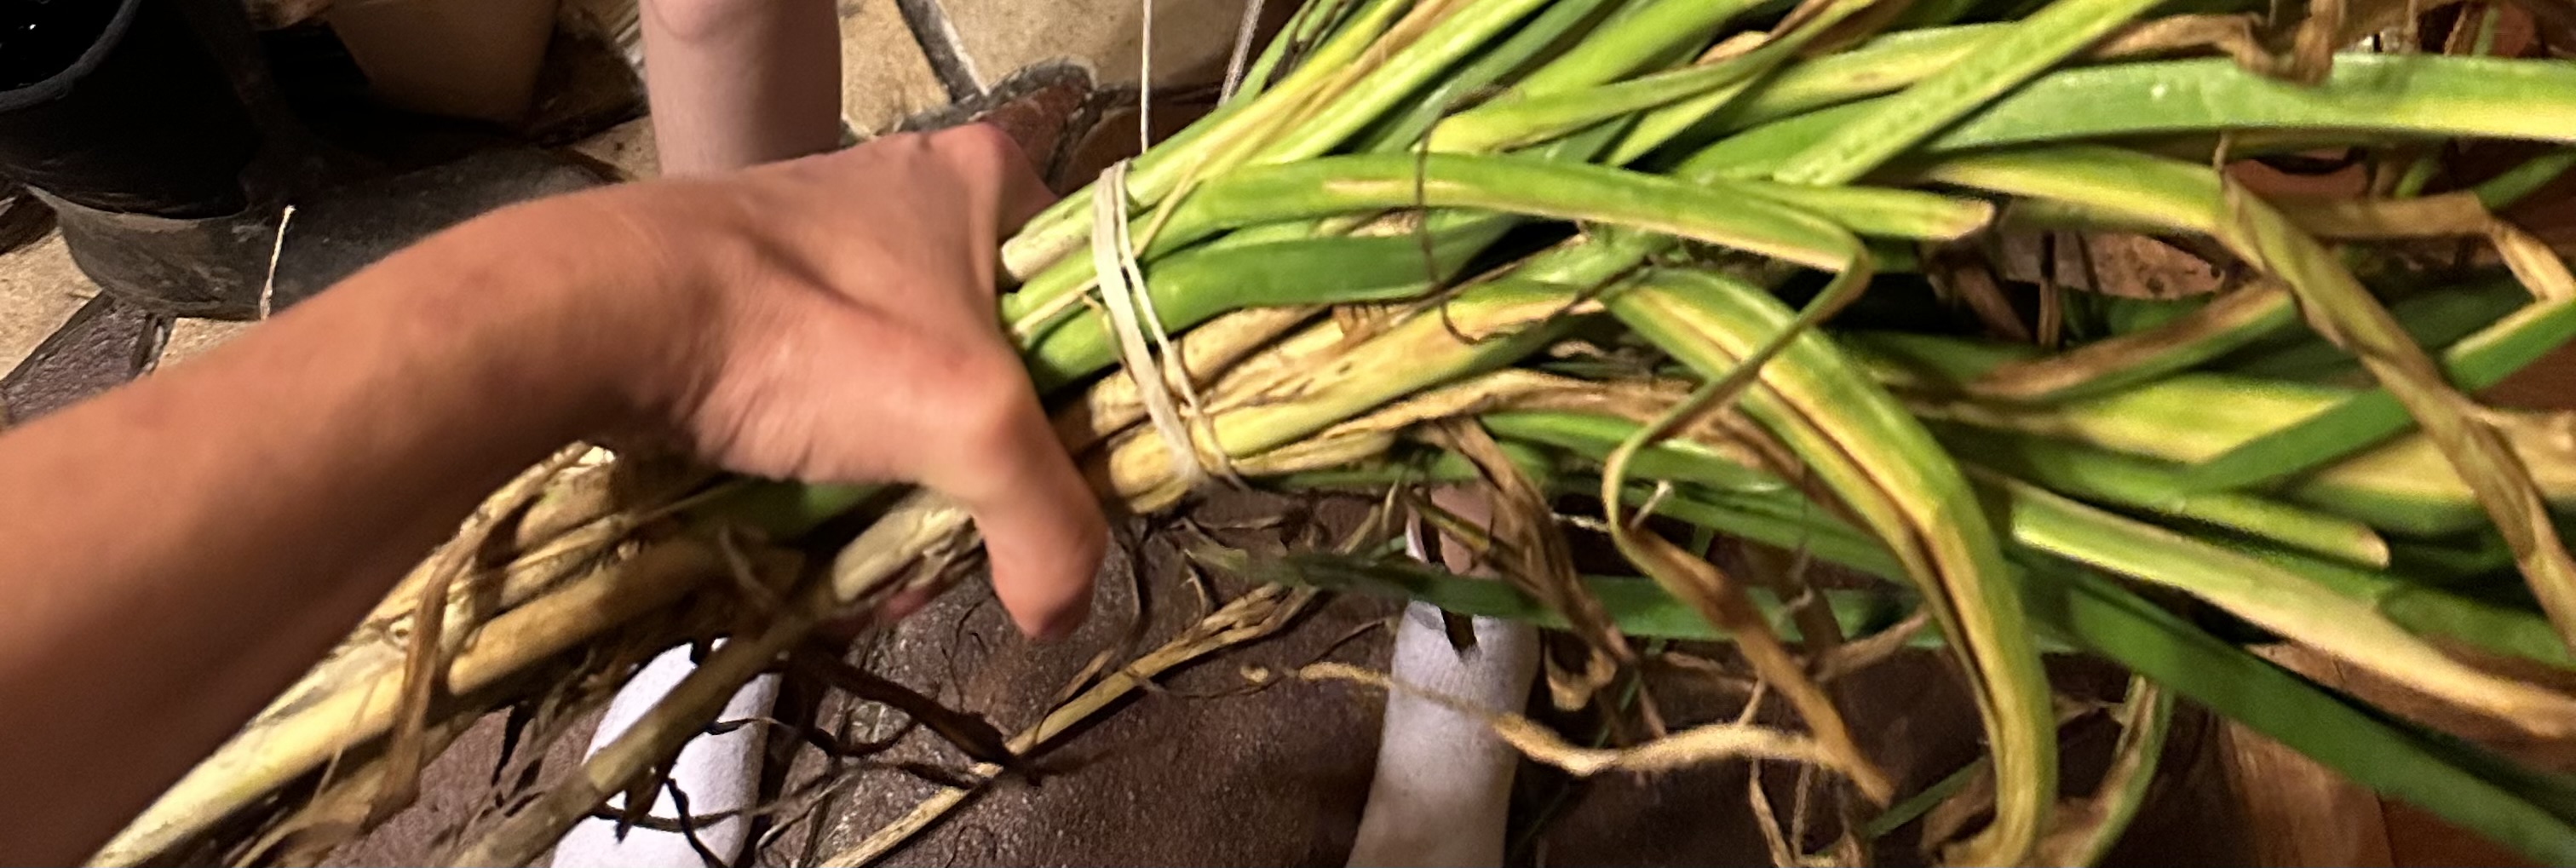

(sun can scald the bulbs, and rain could lead to rot).
Storage
For long-term storage, you can keep the stalks hanging in bundles or braids, or cut off the stalks to store the bulbs in a mesh bag or basket.


Keep in a dry place at room temperature (moisture will cause the cloves to sprout or rot).
Shade is good (avoid direct sun), dark is better.
Again, make sure there's good ventilation.
Don't store whole garlic in the fridge (it'll simulate autumn/winter, and the cloves will sprout).
You can save your biggest, best bulbs for planting time!
(you'll break up the bulbs at that time, and plant the biggest cloves)
To see garlic harvest and curing in action, here are a couple of great videos from Stark Bros. and Fruition Seeds.
No comments:
Post a Comment